
I have to tell you something annoying– this is one of those recipes where the technique is as important as the ingredients. I hate those kind of recipes because they often require more reading than I prefer when I’m in a hurry or my hands are buttery. This is not a hard recipe, but the baking time is specific!
Unfortunately, I do recommend reading the prep guidelines and taking a look at the photos provided. The payoff is that these are an absolute crowd pleaser, everyone loves my cookies and I’m giving you all my secrets here. They are chocolatey, buttery, soft, gooey when warm, and stay delicious for days. Enjoy!
- 2 Sticks unsalted butter
- 1 Cup Granulated Sugar
- 1 Cup Brown Sugar
- 1 teaspoon Salt
- 2 Eggs
- 1 teaspoon Vanilla Extract
- 3 Cups All Purpose Flour
- 1 teaspoon Baking Soda
- 1+ Cups Nestle Semisweet Chocolate Chips (see below, I don’t measure but we want LOTS of chips)
- 1/2 + Cups Ghirardelli Bittersweet Chocolate Baking Morsel Chips
- Preheat your oven to 375 degrees
- Add the room temperature butter, granulated sugar, brown sugar, and salt to your mixing bowl. Cream these together on a low-medium speed until they are all incorporated, thick and smooth.
- Add eggs and vanilla to your bowl and mix them on low-medium until everything is integrated. It’ll look a little bit wet.
- Add 1 cup of flour and the baking soda to your bowl, mix on low to incorporate without making a mess
- Add the remaining 2 cups of flour on low until the flour is no longer white in color
- Then mix on medium until all elements combine into a nice, thick dough. Touch with your finger–if it is very sticky then add another Tablespoon of flour.
- Now this is important, but vague–sorry! Add 1 part semi sweet chips and 1/2 part bittersweet chips until you get the dough very chocolate chippy. See photo below.
- Use a cookie scoop or eyeball about 3 Tablespoons of dough per cookie. Space them out on a large baking sheet.
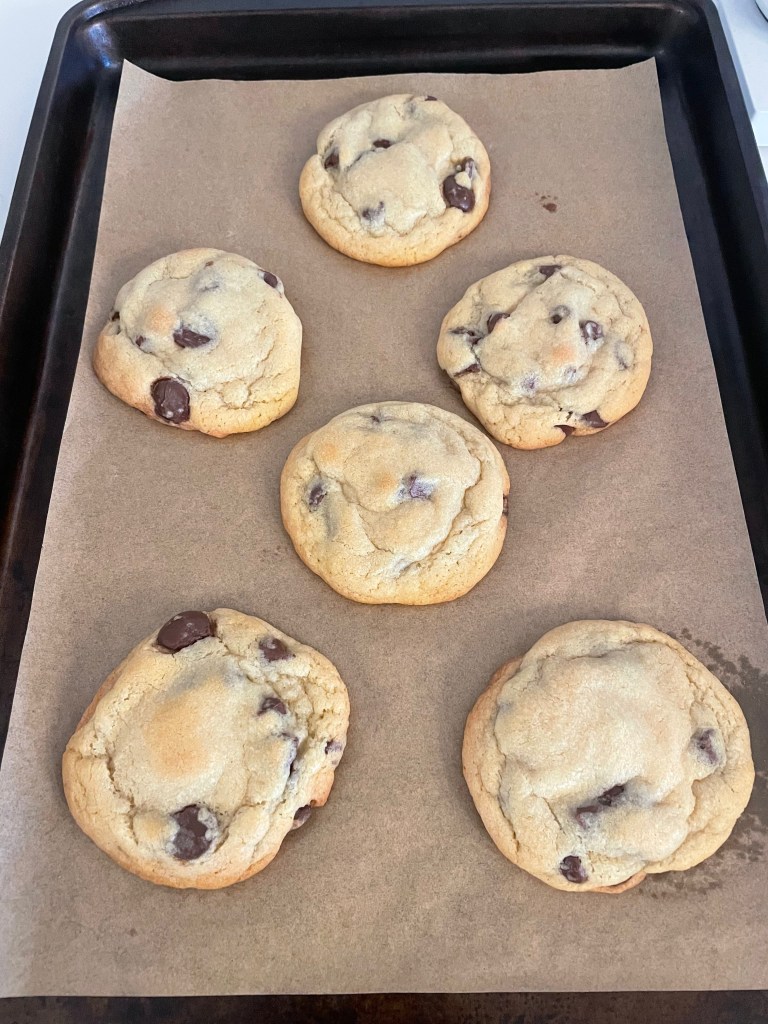
- This step is the most important— Do not over bake! Bake at 375 for 9 minutes, then check them. Bake for one more minute at a time until you get them looking like the photo below. They will be brown on the edges with a small amount of browning on top but still look slightly under baked. This is what you want!
- Allow the cookies to rest for 5-7 minutes until they reduce in size a bit and look more like a finished baked cookie, see below.
- Eat them now! (in my family) Or you can be polite and wait. These stay fresh for days because they are not overbaked at the start–but they’re always the tastiest right out of the oven.
- Enjoy!
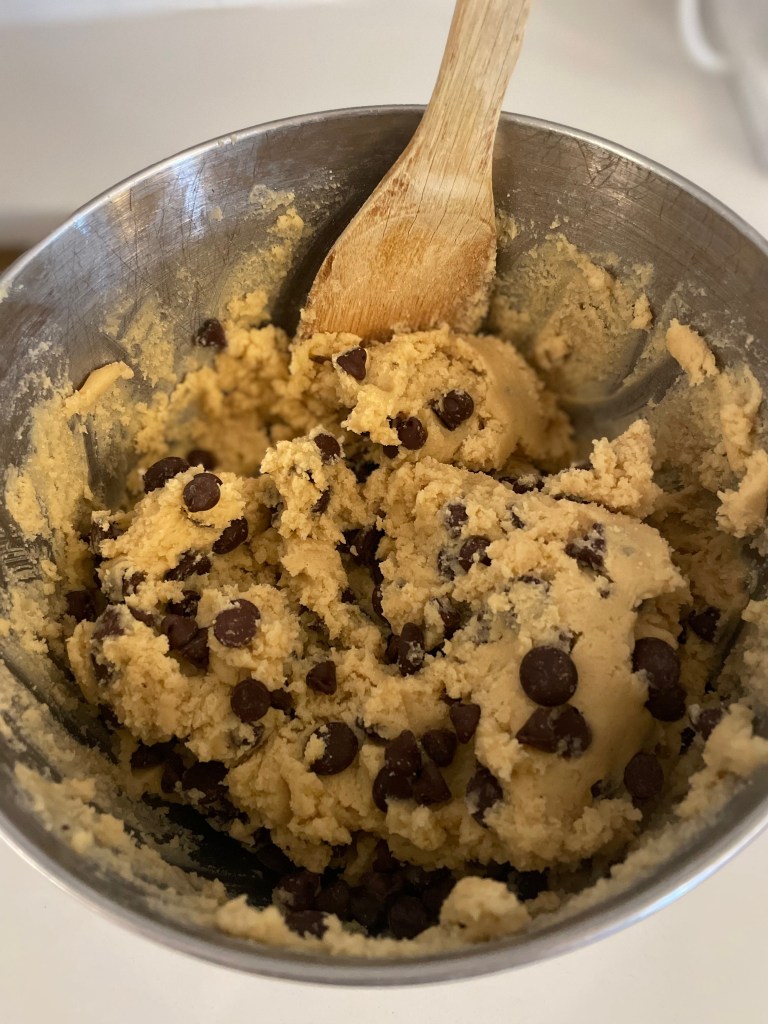
I add the chocolate chips until the dough looks like this. You want to see dough everywhere but also see chocolate chips everywhere.
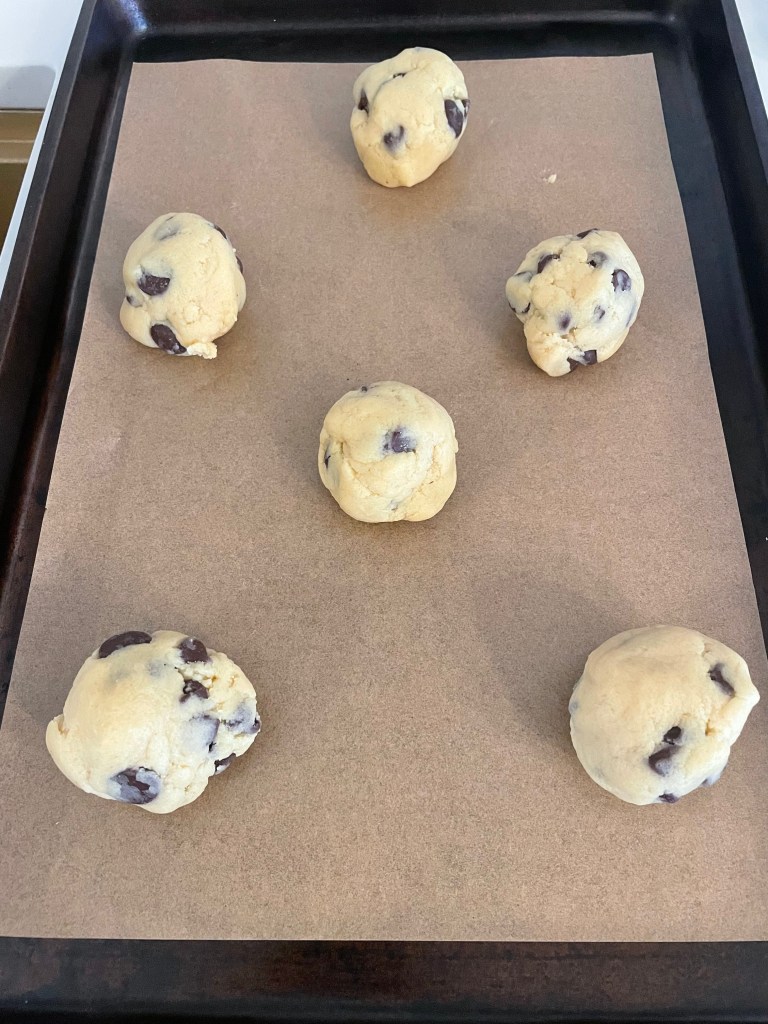
This is how I space out my cookie dough balls. These are about 3 tablespoons of dough each.

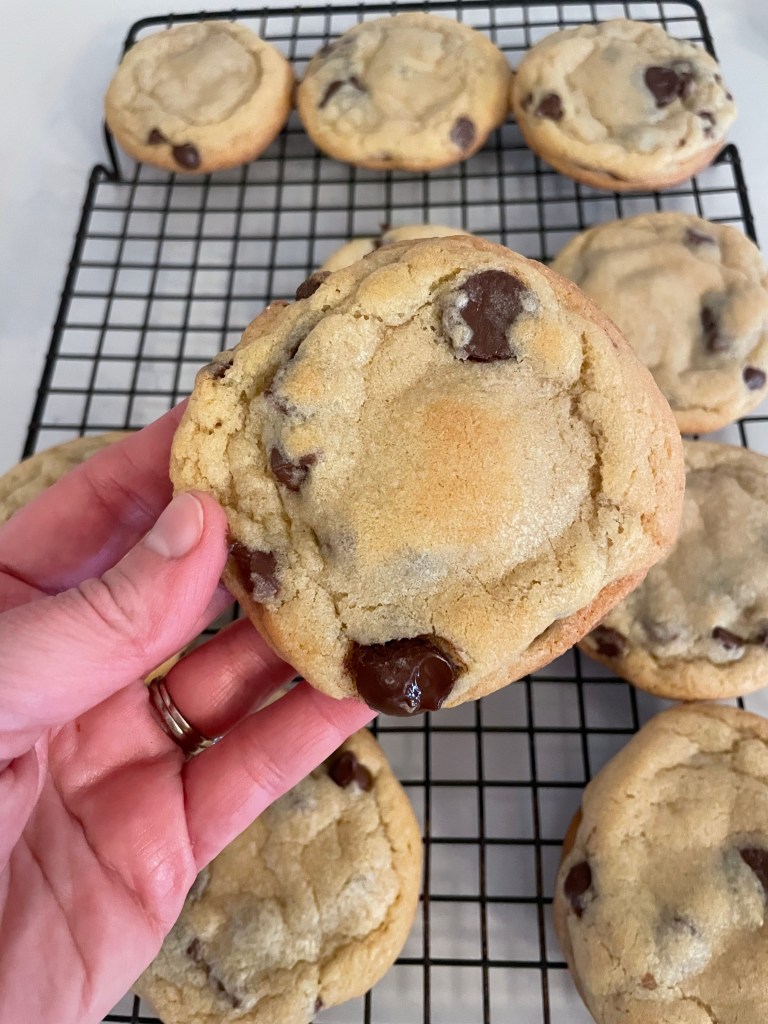
These are baked and ready to rest ON THE WARM BAKING SHEET. They should have just about this amount of browning and look slightly underbaked.
Leave them on the baking sheet for 5-7 minutes. If you got them browner than this, then reduce the resting time on the baking sheet
Now they’re ready! This is the same baking sheet as above. They’re ready to eat if you like them gooey, or to rest on a cooling rack if you want them a little firmer.
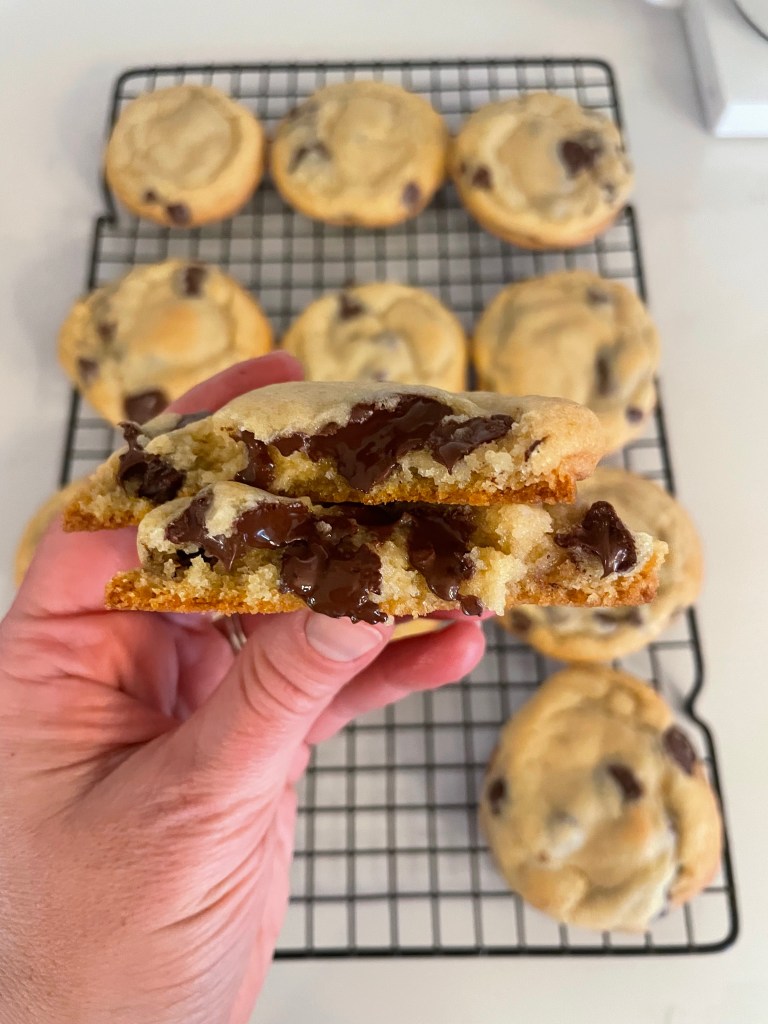
These are SO GOOD. You have to try them.

Leave a comment